Use 2FA in AppMail
Two-factor authentication (2FA), sometimes referred to as two-step verification or dual-factor authentication, is a security process in which users provide two different authentication factors to verify themselves.
This process is done to better protect both the user’s credentials and the resources the user can access. Two-factor authentication provides a higher level of assurance than authentication methods that depend on single-factor authentication (SFA), in which the user provides only one factor — typically, a password or passcode. Two-factor authentication methods rely on a user providing a password, as well as a second factor, usually either a security token or a biometric factor, such as a fingerprint or facial scan.
In AppMail, to enable this feature system wide you need to navigate to Backend->Settings->2FA and choose a company name and enable this feature.
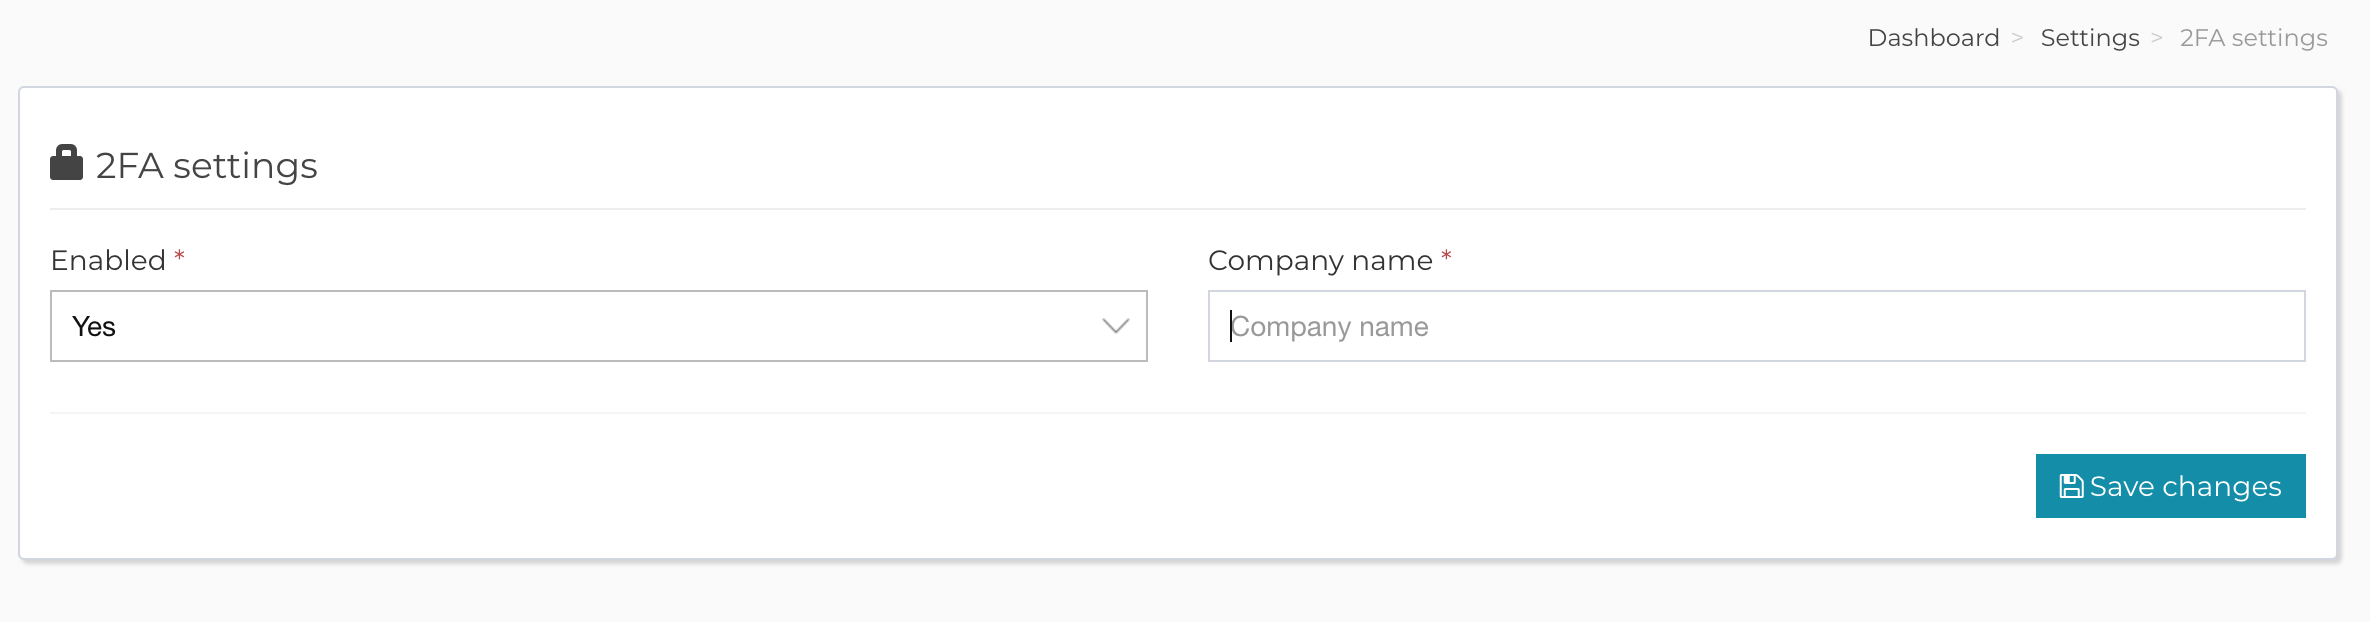
Note! Based on the company name you choose, AppMail will create a unique hash. This will identify your AppMail instance inside your authenticator application. So, please do not change that name once you start using the 2FA feature, because you will remain locked outside your application.
Next step will be to navigate to your Account area and to enable it for your account (this step applies for both admin and customer accounts). Here you will need to use your authenticator app on your phone to scan the QR code from your AppMail form.
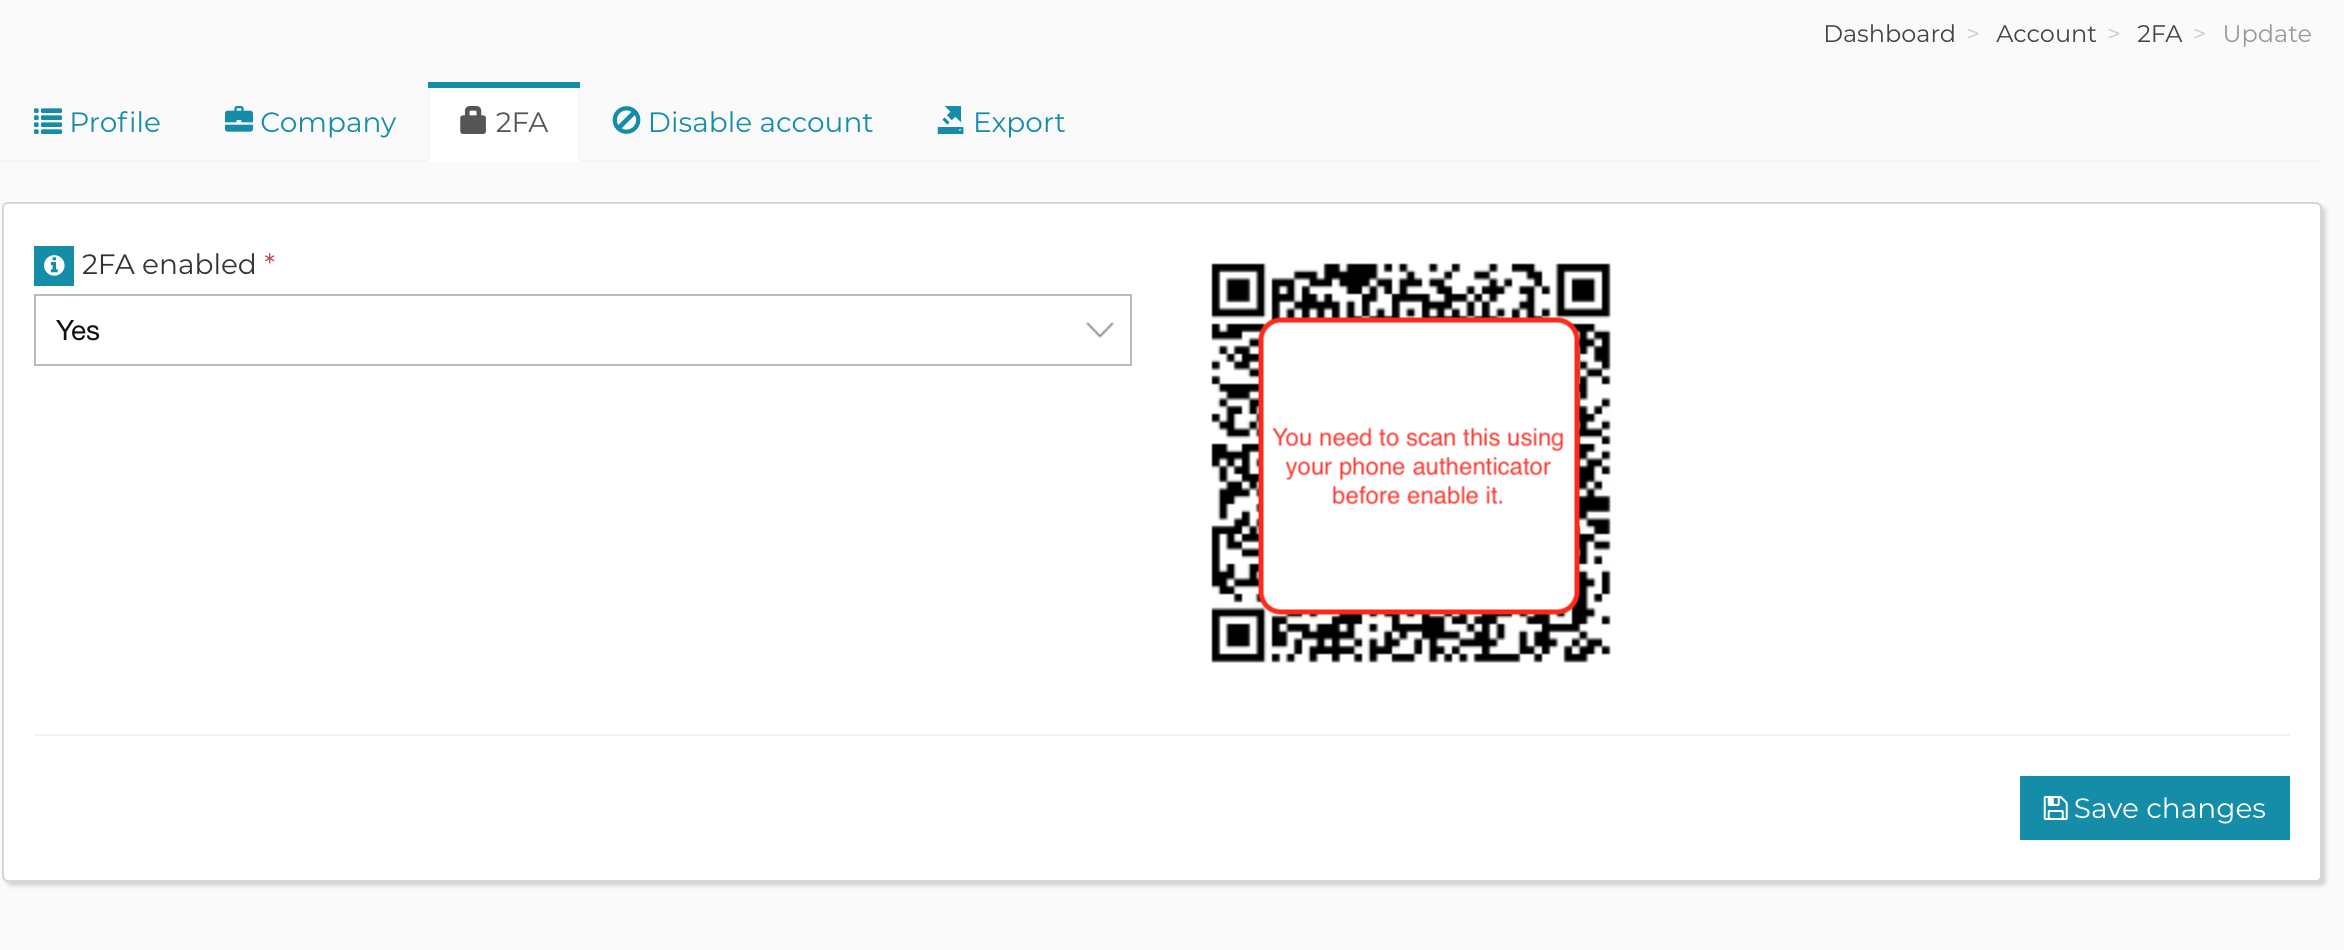
IMPORTANT: Please make sure you scan the QR code in your authenticator application before enabling this feature, otherwise you will be locked out from your account.
Once you will scan it, your phone authenticator application will start generating codes.
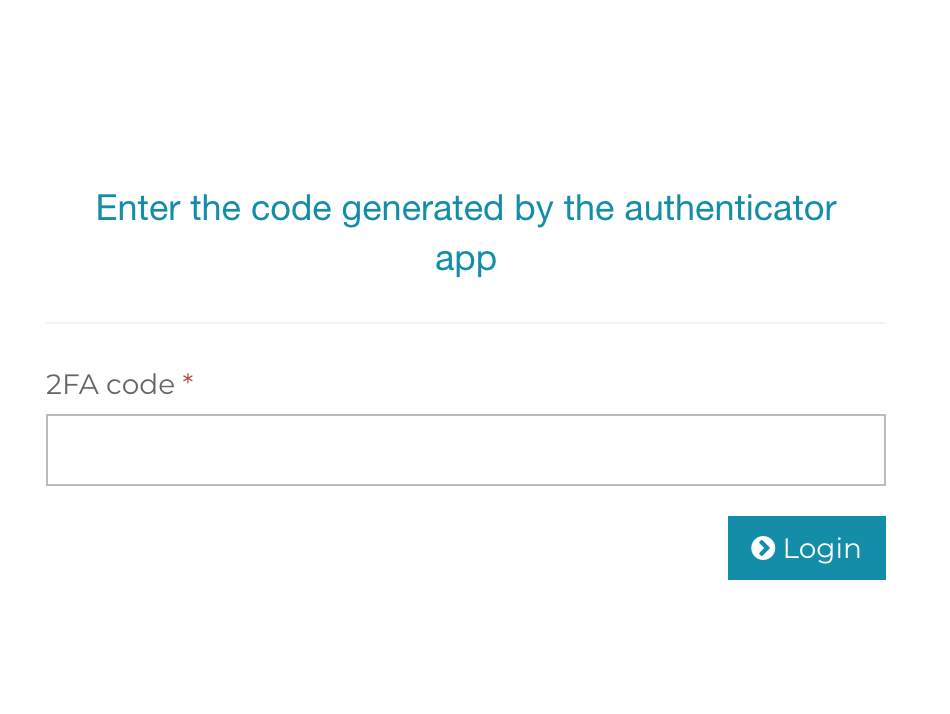
The login process to your AppMail account will be at first similar as before. But after you will enter correctly your username and password you will be required to enter the 2FA code generated by your authenticator application.
Related Articles
How can I tell AppMail how to use or not to use php’s Tidy extension?
Please note that the setting from the code also works and has more weight than the one from the web interface, therefore if Tidy is enabled from the code but disabled from the web interface, then it will be disabled, but if it is disabled from the ...Nginx server basic configuration for AppMail
Please note that the below configuration is going to use php-fpm for what is worth. /etc/nginx/nginx.conf # For more information on configuration, see: # * Official English Documentation: https://nginx.org/en/docs/ # * Official Russian Documentation: ...This license is already registered to another AppMail instance
This article is about the following error message that you get in your AppMail dashboard: {"errors":{"license_key":"This license is already registered to another AppMail instance"},"message":"General error","status":"error"} Why do I get this error? ...Guide to follow while creating your AppMail extensions
The naming convention of the extension folder and extension init file for the extension remains the same, if your extension folder is called amazon-s3 your extension init file must be called AmazonS3Ext.php and must contain the class AmazonS3Ext ...Extend AppMail
AppMail is highly extensible and flexible. You can extend it using a high number of extensions for payments, backup, email validation and so on, you can alter the look of it by either using customisations or custom themes and you can translate it in ...