Email Box Monitors
An email box monitor is simply an imap/pop3 account, just like a bounce or feedback loop server, where AppMail will connect from time to time and download the contents and process them in order to take a certain action.
You can define conditions so that while AppMail processes the emails found in the account, it will take certain actions if it finds certain content. For example, you can tell it to unsubscribe subscribers from the email list in case it finds the phrase “unsubscribe me”. This feature is really useful when people reply to your email campaigns and tell you to unsubscribe them for example. This way you will spare valuable time since the process can be automated.
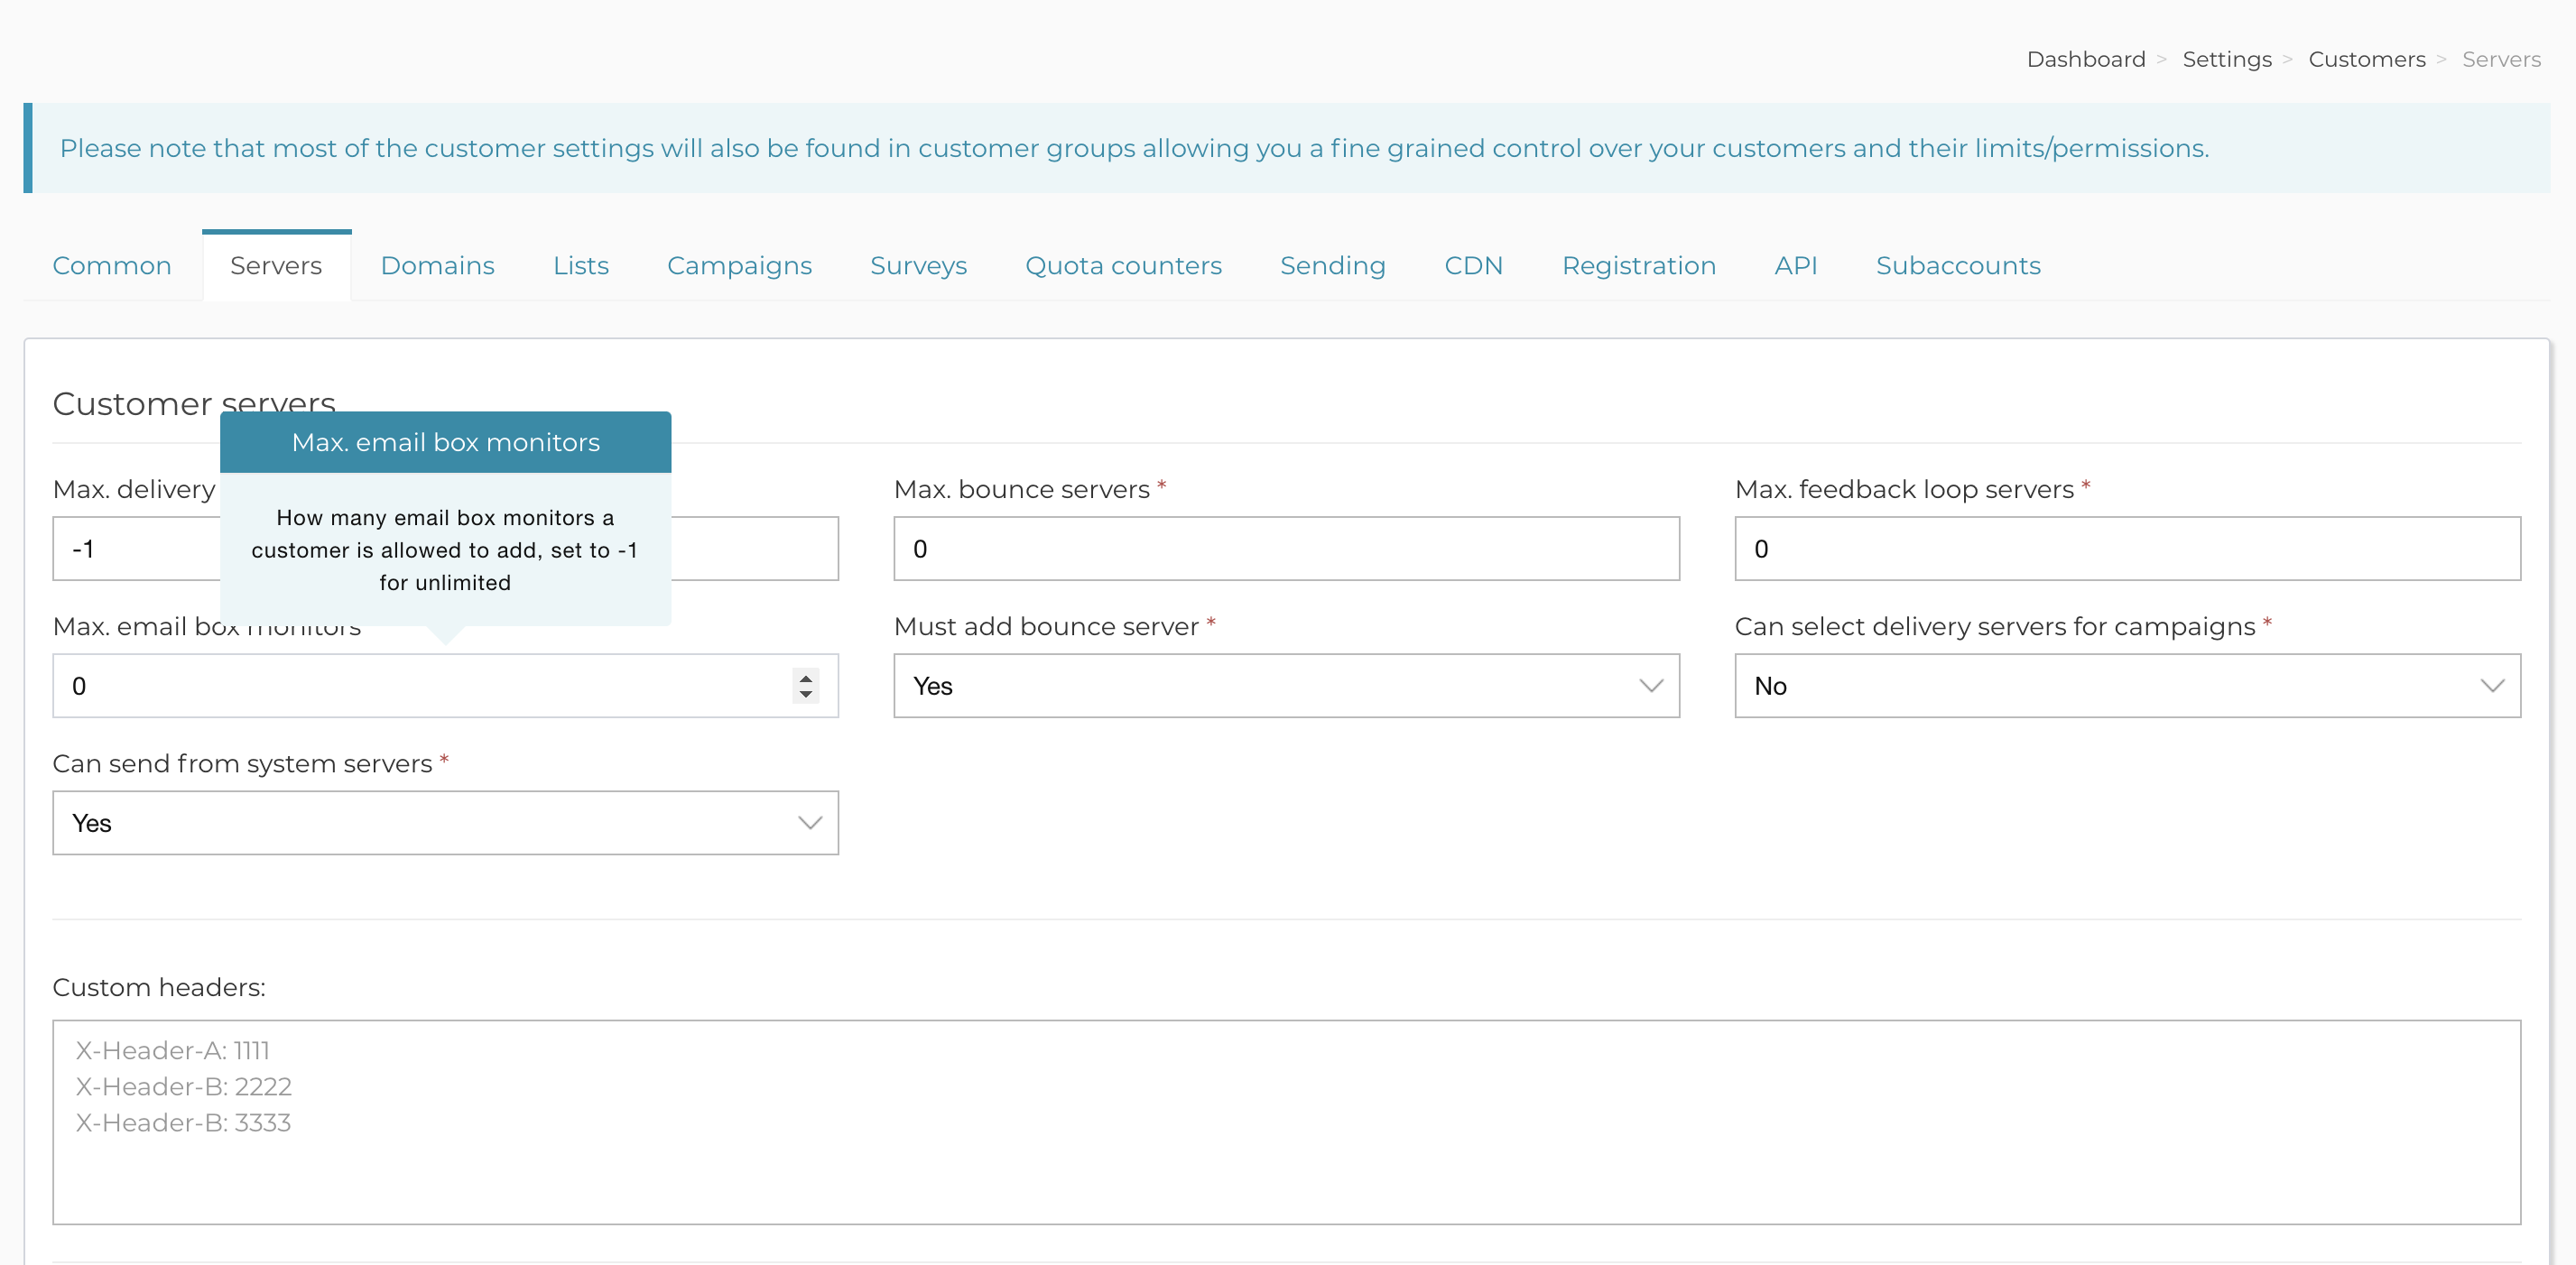
You can enable it for your customers from Backend->Settings->Customers->Servers. Set the ‘Max. email box monitors‘ field to a value higher than 0. If you set it to -1, it will allow unlimited email box monitors per customer. In the admin (backend) area you will always be able to add them.
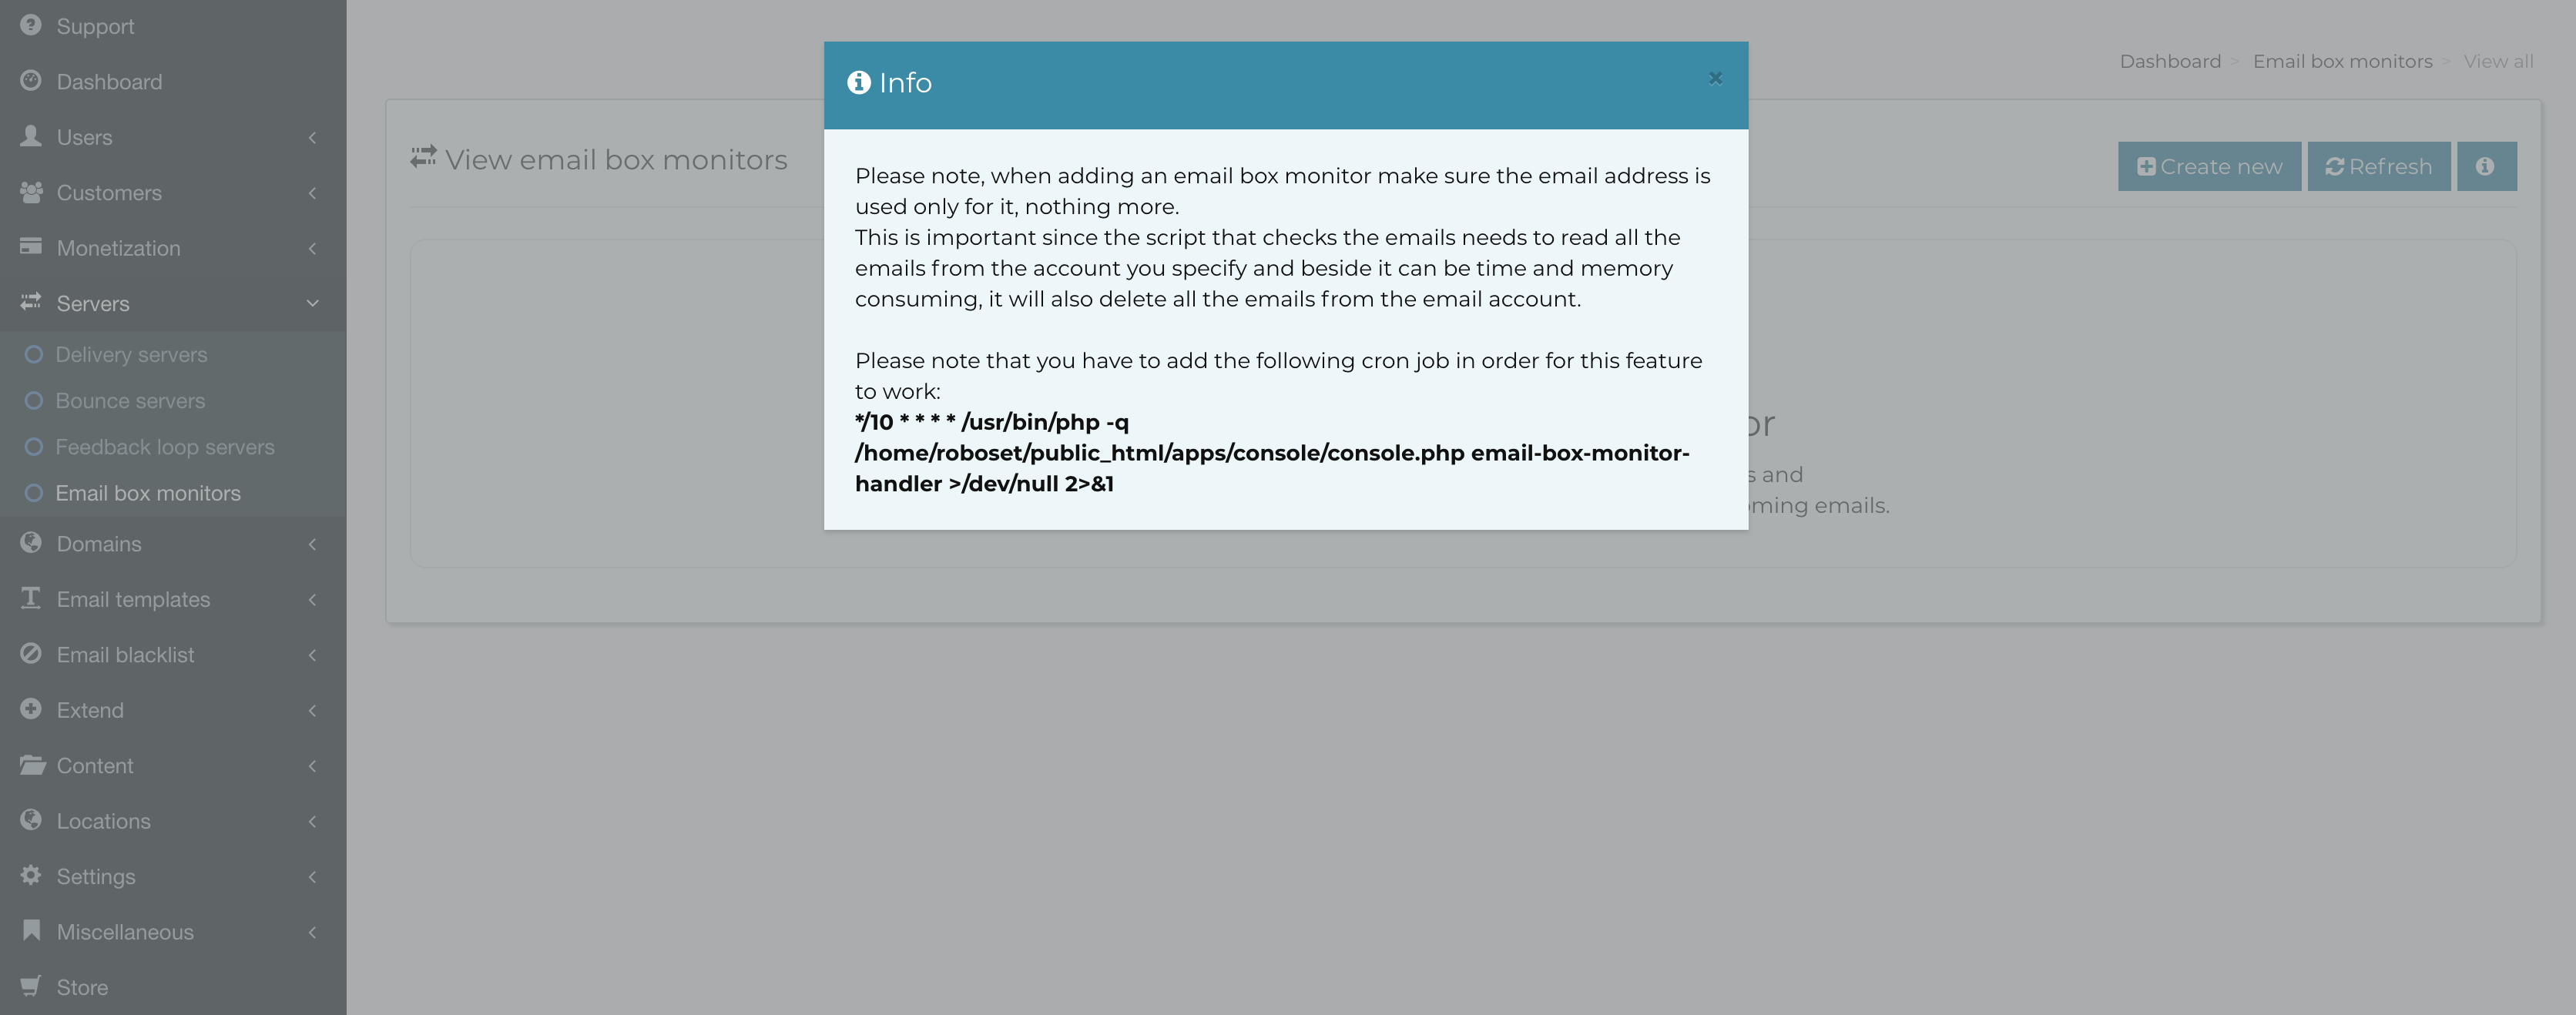
In order for this feature to work you will need to add the cronjobs related to it, as instructed in the image below (this modal appears by pressing the info button):
Related Articles
How blacklist monitors work?
How blacklist monitors work? Blacklist monitors exist in order to automate the process of removing legit emails that were added into the global blacklist. Let’s assume your delivery server had a massive issue with yahoo.com and yahoo rejected a huge ...Add subscribers to your email list
Once your email list is created, next step is to start importing your subscribers into the list. In order to do so, just click on your list title from lists area, then click on the Tools box, followed by the Import box. You will be allowed to import ...How to add custom email footers for all emails?
Sometimes you might need to make sure all the emails that go out will contain a certain email footer, for example where you’ll add the default unsubscribe information, or maybe your copyright. In order to do so, you have to navigate to Backend > ...Setup guide for the “Subscribe by email” extension
After you have installed the Subscribe by email extension, it’s time to set it up properly so that subscribers will be able to subscribe or unsubscribe by email directly, instead of going to a subscription/unsubscription form. If you go to the ...Create your first email list
In order to start sending email campaigns, you should start by creating your first email list. Your email list identifies you as a sender, it contains your information and allows you to take various decisions related to your subscribers. Each list is ...