The correct way to add a link using the wysiwyg editor
We’re using CKEditor as our wysiwyg editor throughout the application.
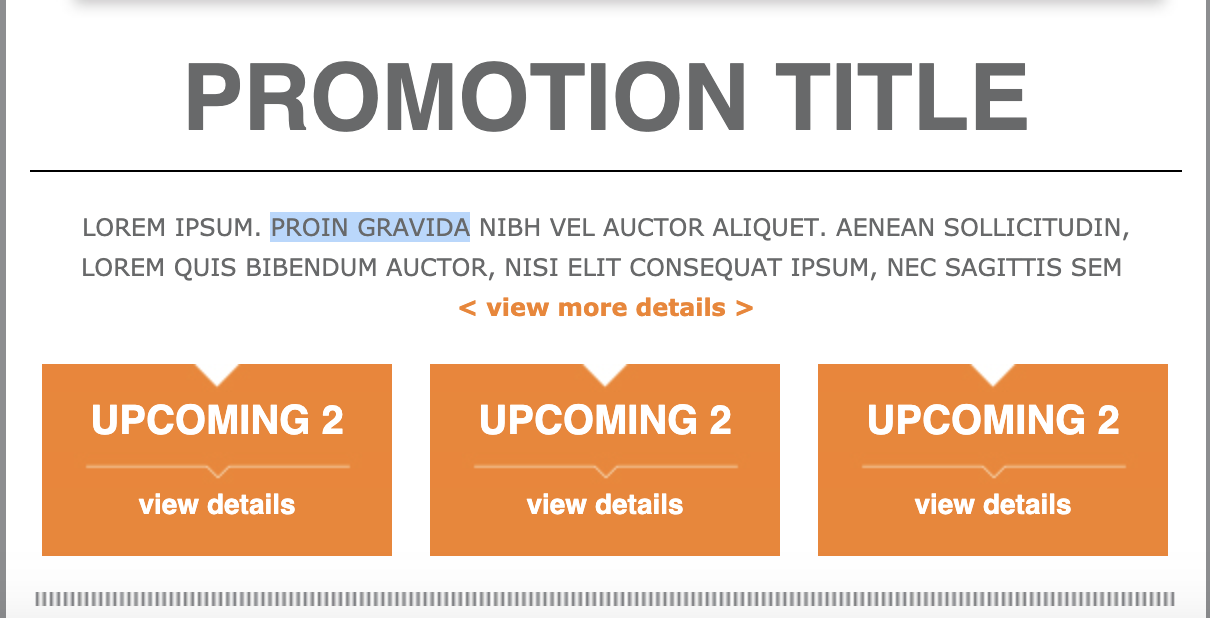
When adding a link using CKEditor, the easiest way is to simply select the text you want to set a link onto:
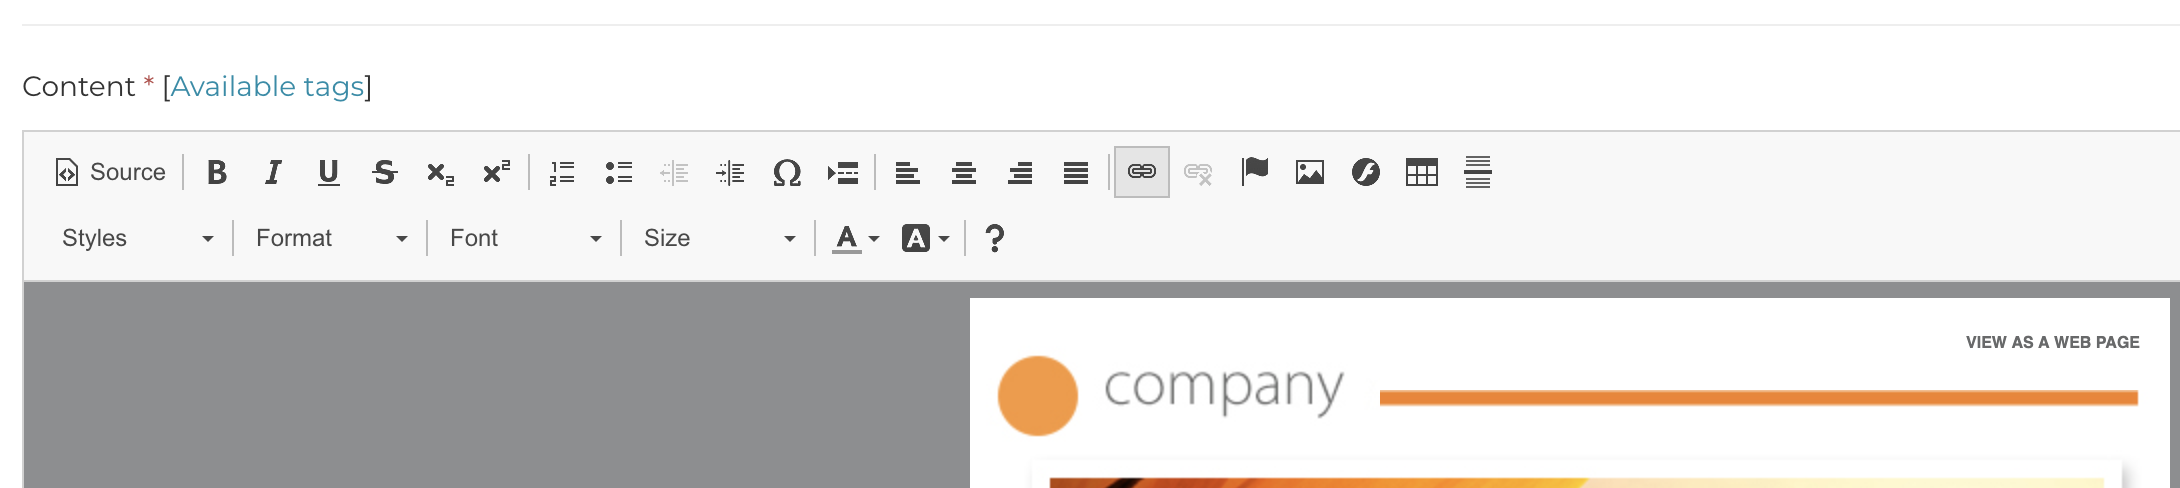
then click the link icon from CKEditor’s toolbar:
Which will open the link dialog where you can simply add the url where you want the link to point to:
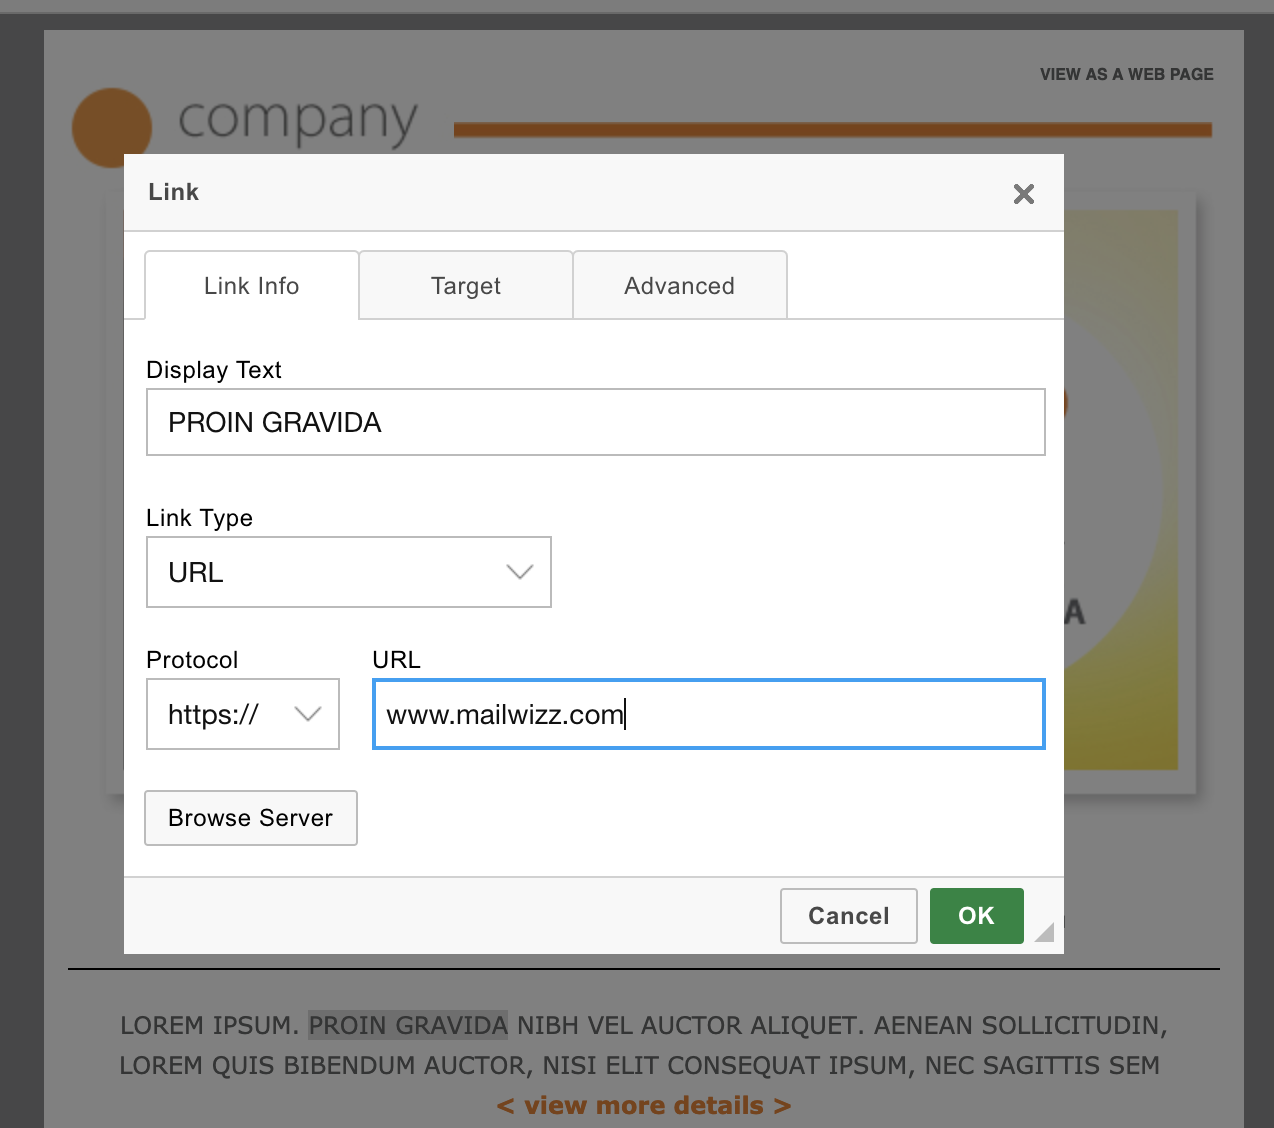
Clicking OK will insert the link in the template.
Please not that we have a dropdown where we can select the Protocol, in this case it is set to https, but other options are available, this is important for later, keep in mind.
Now if we switch the editor in source mode:
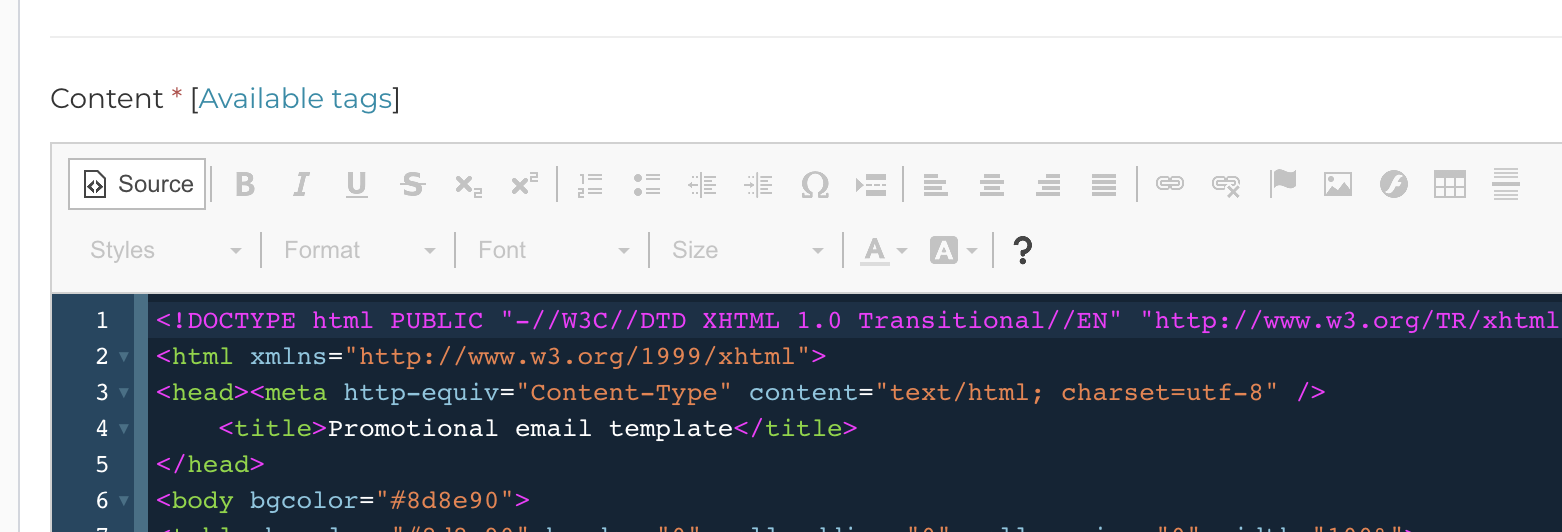
we can actually see how the link looks like in html:
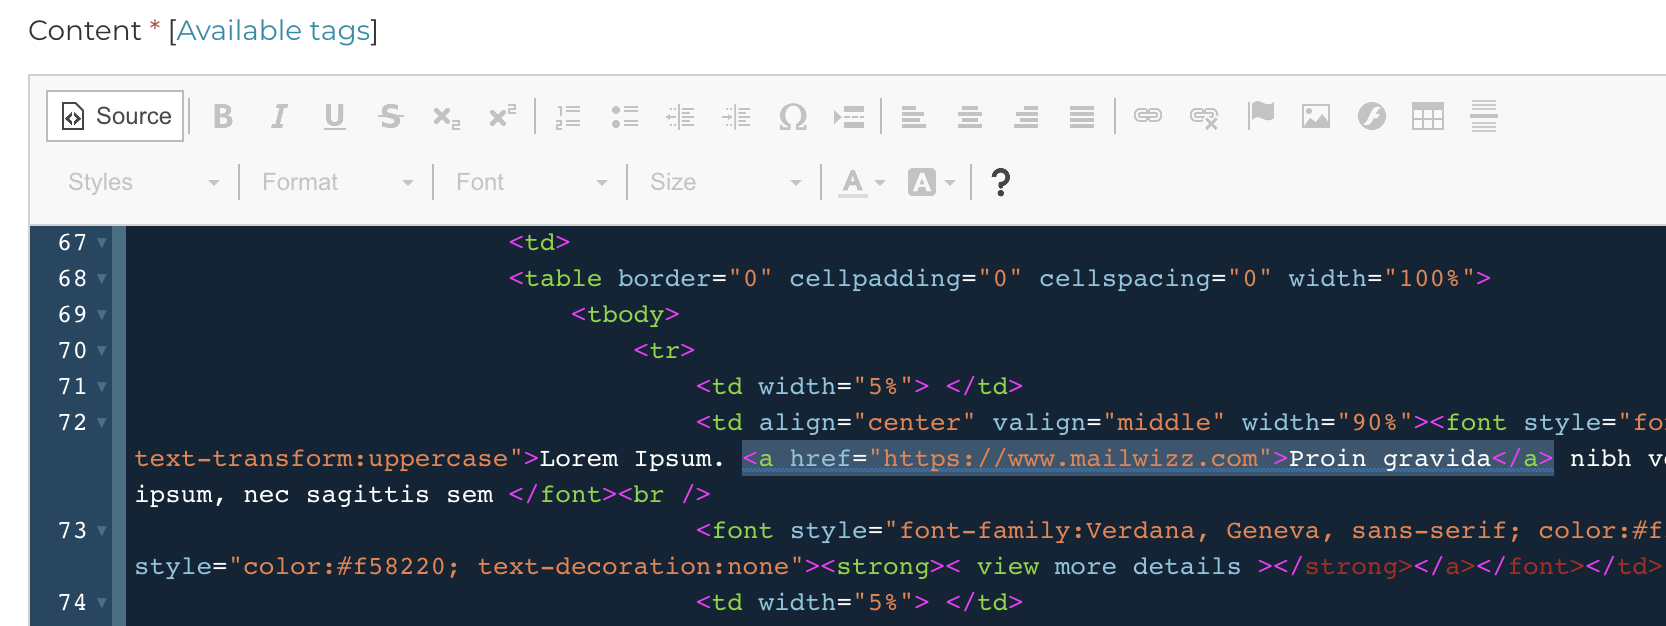
As you might figure it out by now, this means we could have done this from the first and avoid using the editor dialog to add the link, we could as well just switch the editor in source mode and add the link. But that is something for the more advanced users.
Now that we know how to add a link using the editor, it’s time to see how a AppMail tag is added in order to create a link.
AppMail has several tags which when parsed they produce a real URL.
For example, the tag [UNSUBSCRIBE_URL] will produce a full URL to the unsubscribe page.
Each time when you see a tag that ends in _URL in AppMail, it means it produces a full URL.
This means, that when you create links using such tags, you need to make sure you do not add the protocol (http or https) in front of the tag inside the link.
For example, when adding a link with such tag using the editor, you need to select “Other” from the list of protocols:

And when adding links directly in the source code, the link must look like:
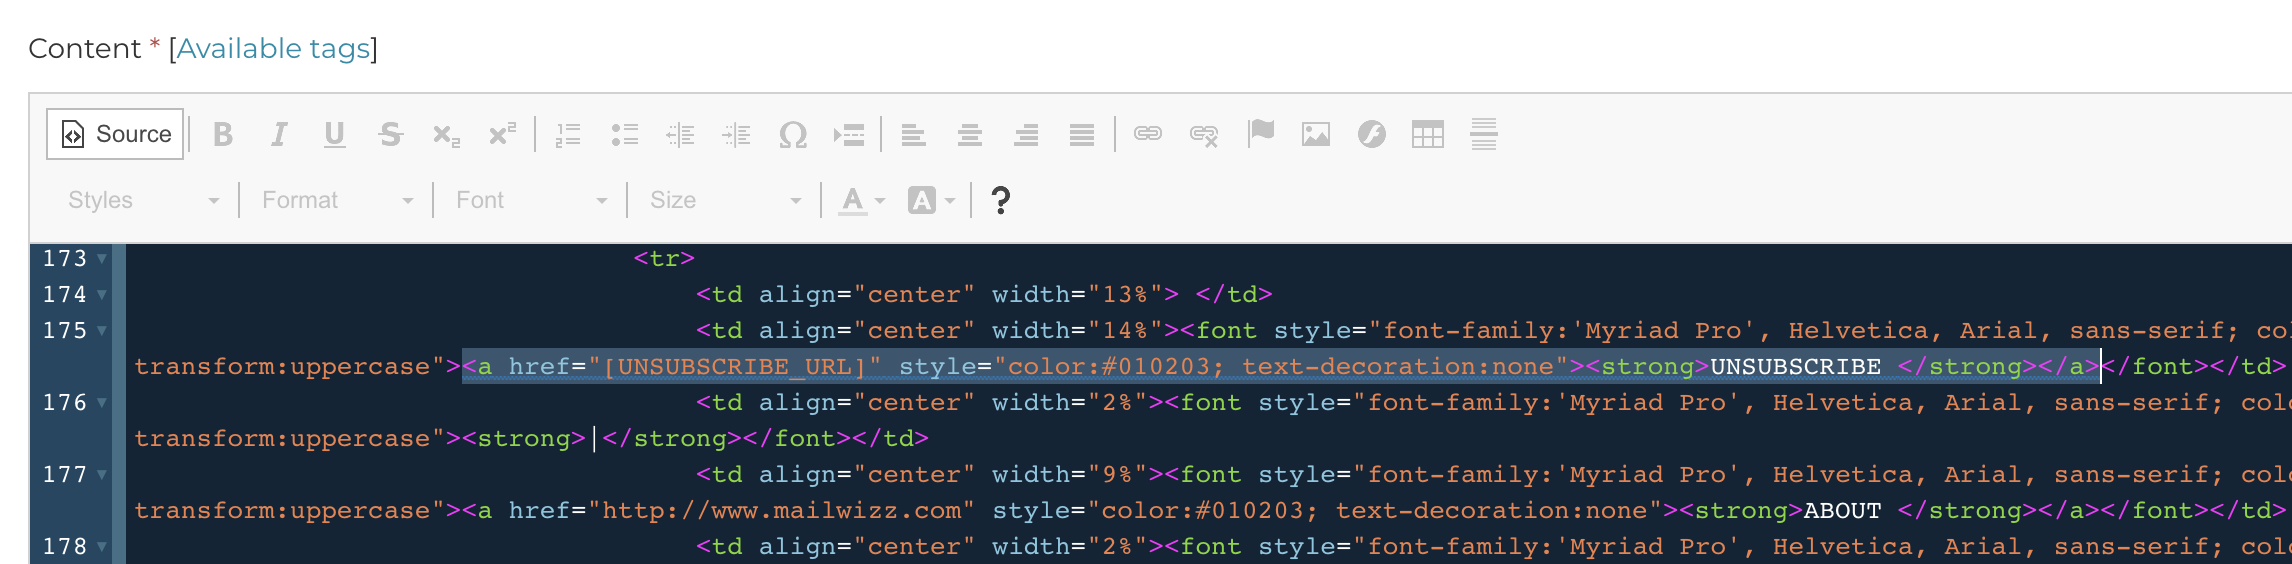
As you see, it does not contain the http nor the https protocol, again, this is because, the tag itself will add the protocol as well.
Related Articles
How to add delivery servers for an individual customer?
You need to go to Backend > Settings > Customers and select the Servers tab. From this screen, select the number of delivery servers the customer is allowed to add, but also what type of delivery servers he is allowed to add. Once you do this, save ...Enable the file manager for editor files
Following screenshots show how to enable the file manager so that you can store assets for your campaigns or generally so that they can be accessed from the editor. Step 1: Step 2: Step 3: Step 4: Step 5: That’s it.What Cron Jobs are, why do I need to add them and how?
What is a cron job? A detailed explanation about crons is given in the wikipedia at https://en.wikipedia.org/wiki/Cron Long story short, a cron is a task that runs at regular intervals on your linux server. Being a task, it means that at the time it ...Using Redis for cache and mutexes
Since AppMail 1.5.0 is possible to use Redis for the cache and mutex components. In order to do this, after you install and setup redis, you have to open the apps/common/config/main-custom.php file and add the following components into it: ...Add a new delivery server type
If you look in apps/common/models/ you will see lots of files called DeliveryServer{TYPE}.php where type is the provider they implement, for example DeliveryServerAmazonSesWebApi.php In order to create your own delivery server implementation, you ...